
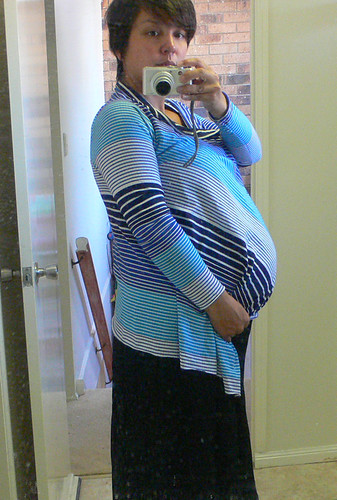
Below is a whole range of photos showing how I like to wear it. Sorry ahead of time for the awful bathroom mirror photos but I really felt like getting this tute done today as it is my due date so who knows when my next post shall be. And aren't thin stripes terrible to photograph? Kind of makes for an optical illusion that hurts the eyes. . .
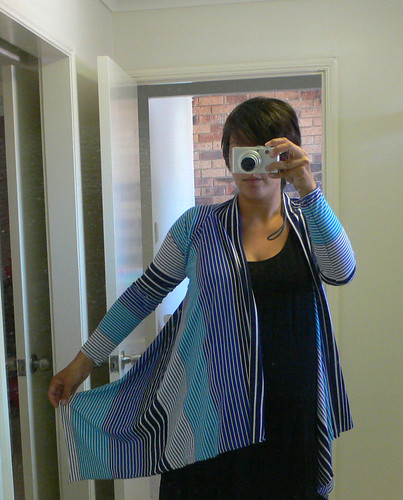
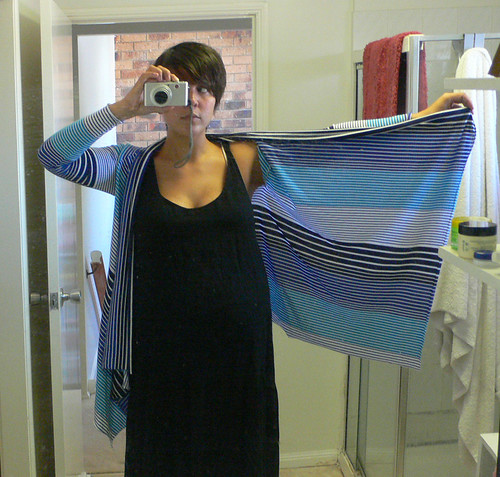
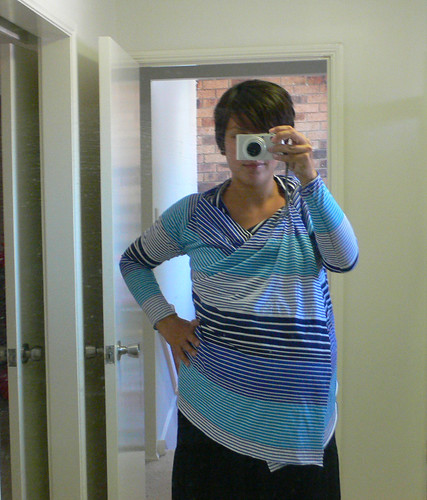
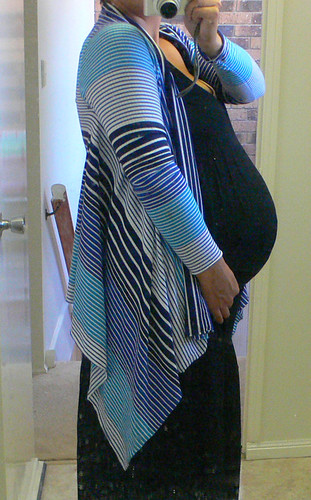
It's the perfect Queensland cardigan because it is so light and versatile. You can just let it drape naturally or you can pin up one or both sides. I often tuck it up and inside the shirt I'm wearing underneath for a sort of scarf-like effect.
Also, it's the perfect pregnancy/breastfeeding cardigan because you can wrap it around your growing belly or around a baby in a carrier or around a nursing babe who is easily distracted by wind or other action in the surrounding environment. I'm not the type to worry about 'hiding' my breastfeeding baby but if that is something that makes you more comfortable about feeding in public, the cardigan makes a nice tent for breastfeeding under.
Here is the pdf tutorial with measurements etc. for making the cardi. It is meant to be custom fit so you will have to do a bit of measuring of yourself. I think it is all fairly self explanatory in the schematics but here is a little breakdown.
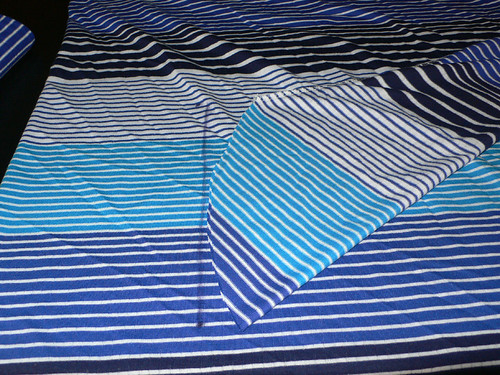
1. Measure your armspan and cut a piece of stretch knit jersey to this measurement wide, by half this measurement long. Therefore if your armspan is 160 cm you would cut a piece 160 cm x 80 cm. A lot of bolts of jersey are 160 cm wide which is the size I cut. If your armspan is a lot wider than 160 cm you may need to cut your fabric differently.
2. Find a long sleeved knit jersey top that fits you nicely in the arms. Trace this onto your fabric along a fold such that you will only have one seam on each sleeve. Remember to leave a seam allowance. The first sleeve I cut was a little tight as the stretch in the fabric I was using wasn't as 'stretchy' as the sleeve I used as a template, so I would recommend trying the sleeve for size before cutting a second one. Sew the arm seam shut, leaving the cuff raw.

3. Trace and cut a slit in your fabric about 14 cm from the top edge and approximately as long as the opening in your sleeve. This will be where you will set the sleeve into the main fabric. I didn't worry about shaping the slit to the arm sleeve opening at all as the stretch of the knit was enough to accommodate the small difference. If you don't have a serger you will have to use a zig zag stitch for this part I suppose. If you do have a serger, take care to start at the armpit and sew your way around to avoid any accidental mangled cutting when turning the corner of the armpit. For the top of the shoulder I just ignored the top of the slit and curved around it with the serger as well as I could and it worked without a problem. Also take care to note which is the 'right side' and make sure you turn your sleeve right side out before setting the sleeve in to pin and sew.
That's all. I hope it all made sense. It is a pretty simple thing to make but that doesn't mean I explained it in the simplest way.
Salut!
Looks great & very versatile! Your due date, how exciting! Good luck with everything, I hope your newest little addition doesn't keep you waiting too much longer....
ReplyDeletelove it! the cardigan and the belly are beautiful! plus, i`ve seen styles like that in stores lately but have been too cheap to buy one! thanks for the inspiration.
ReplyDeleteHow wonderful! I have some lightweight jersey and I was thinking "hmmm... this would be a great cardigan (especially for hiding my 1 week old post-pardum belly, and for nursing)" when I came upon your tutorial. Thanks for the help, I can't wait to make mine!
ReplyDeleteThank you for the PDF, visually it was easier to follow. Cannot wait to try it.
ReplyDeleteThis is cute. Making one for my pregnancy with my third. :)
ReplyDelete